The Guide to Makeup Expiration Dates

Girl Time

IMG_4687

You may not think about the expiration of your makeup as much as you do about your food, but keeping track of your makeup expiration dates are just as important. As much as you don’t want to part with your favorite lipstick or eyeliner, there comes a time where you have to toss them out to prevent infections and breakouts.

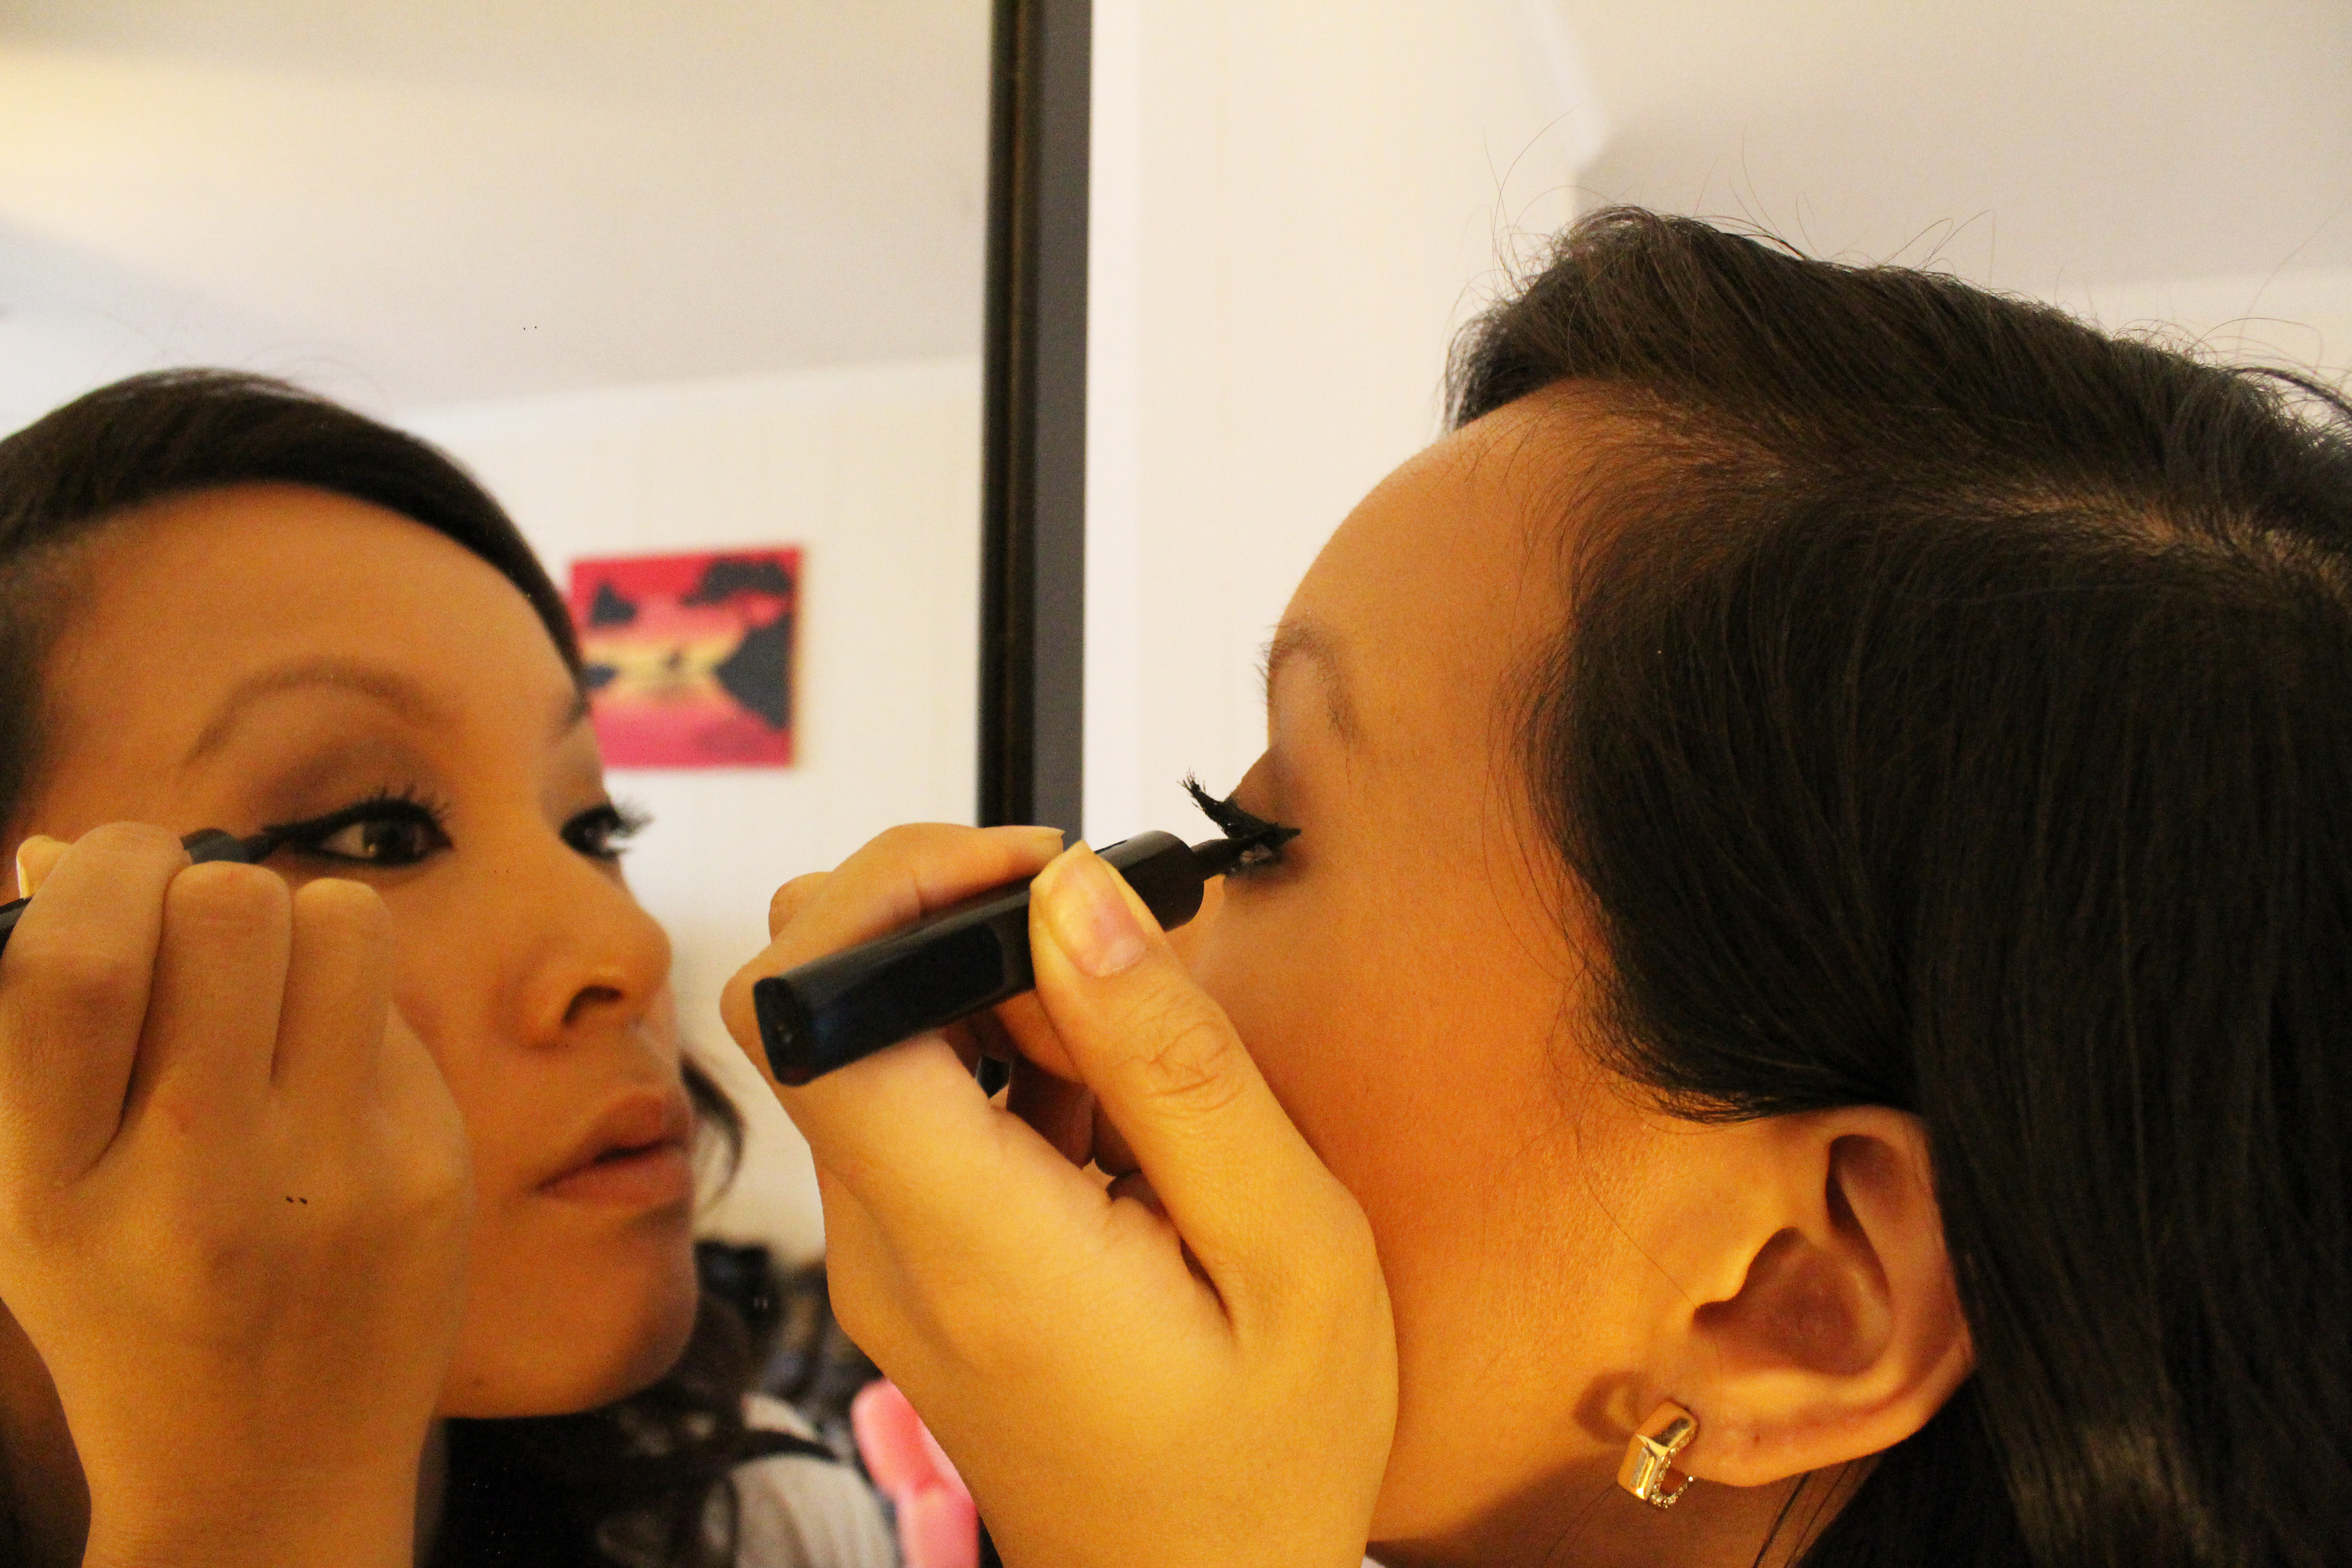
Mascara – 3 to 4 months

This is probably the makeup product you should pay the most attention to. As your brush is taken in and out of the tube, it brings in any bacteria collected along the way. Any lingering bacteria can cause serious itchiness, redness, and infections. When the mascara starts smelling something like gasoline, it’s time to toss it!

Liquid Eyeliner – 6 months 

As with mascara, eyeliner is applied near a sensitive area and is extra prone to bacteria because of it’s liquid form. Pencil eyeliner can last a little longer (up to 1 year) than liquid especially if it is sharpened on the regular.

Liquid Foundation – 6 to 12 months

Since liquid foundation is water based, it collects bacteria easily. When it starts smelling off or changes color, that’s when the formula has turned bad. Keep foundations away from moist environments (like the bathroom) and away from heat (vents or windows), which can speed up spoiling.

Concealer – 1 year

As with liquid foundation, when the color starts to shift and the formula starts to separate, it’s time to get rid of it. Powder/stick concealers can last a little longer (up to 2 years).

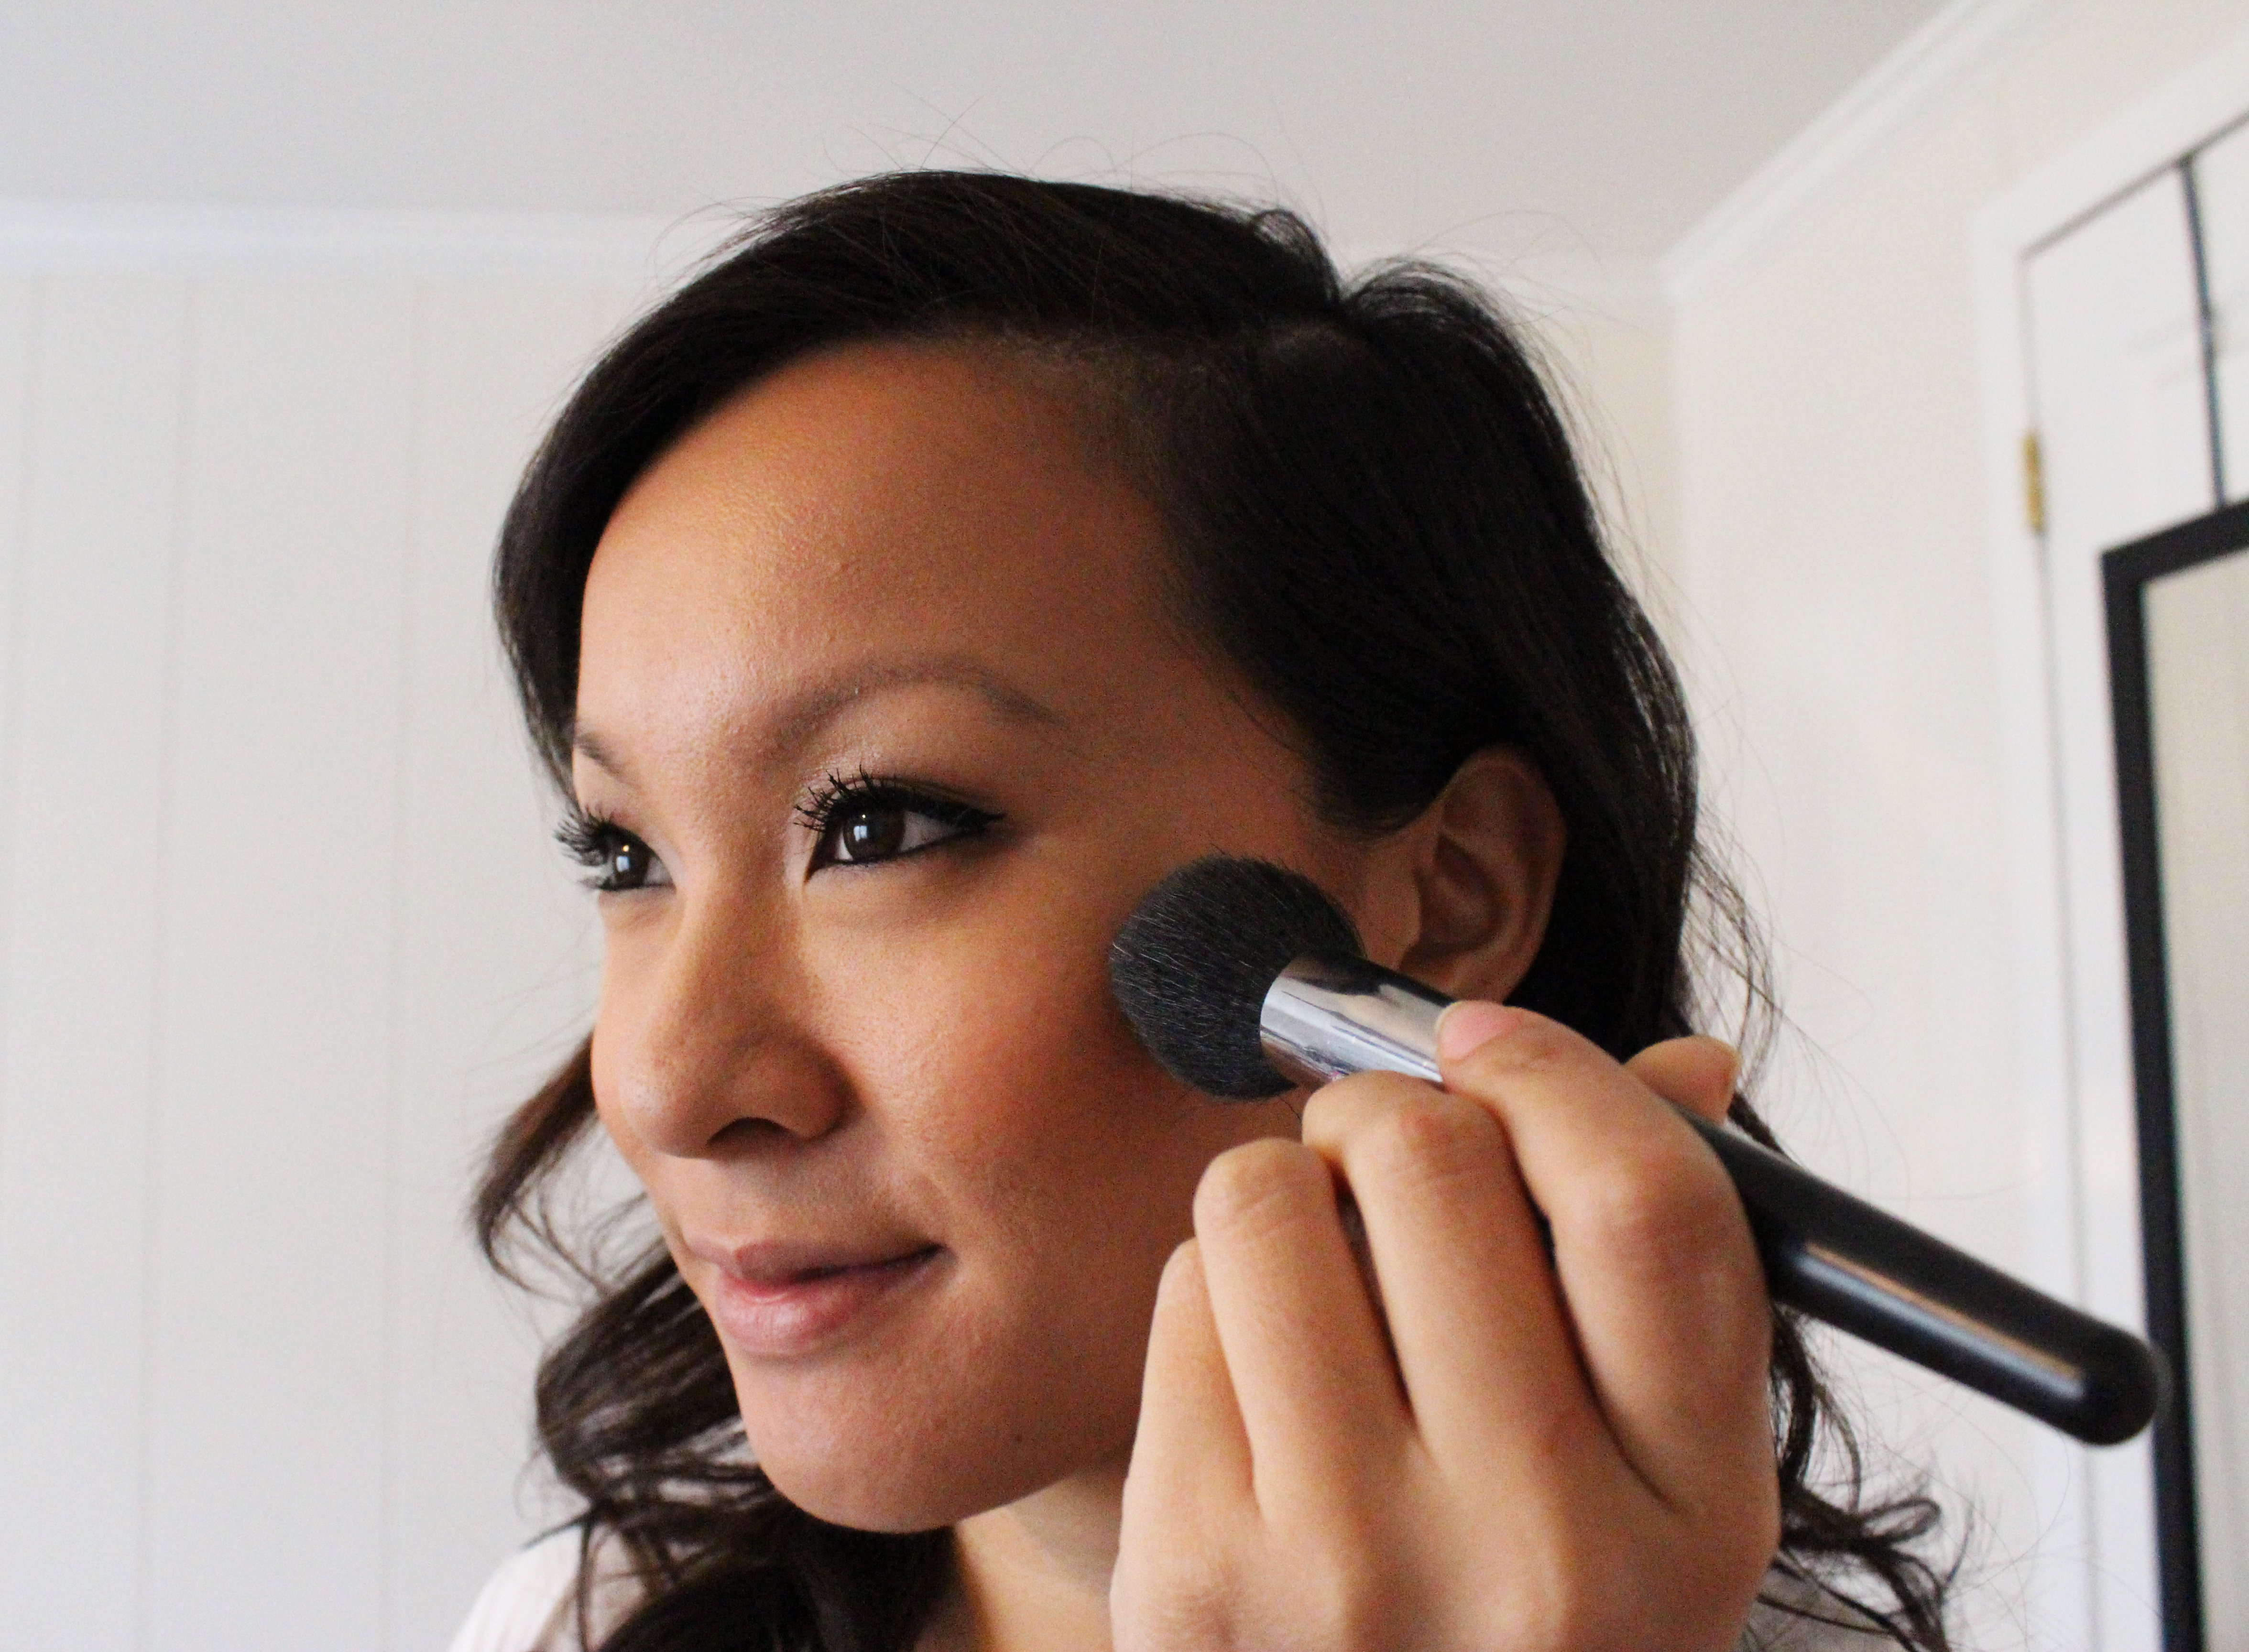
Powder, Eye shadow, & Blush – 2 years

You can start telling when these products are going bad when they become more dry and flakey. To prolong their life, clean your makeup brushes on the regular (at least twice a month) to prevent bacteria growth and prevent the oil from your face from transferring to these items. Although these products are dry and don’t contain water, the moisture from your foundation or moisturizer can cling to your brushes and transfer to your makeup as well.

Lipstick – 2 years

Although lipstick doesn’t contain any water, it’s best to get rid of your lipstick after 2 years because they’re repeatedly exposed to your mouth area. When your lipstick changes texture by drying out and becomes hard to spread, you know it’s time to say goodbye. If you’re a lip gloss user, they don’t last as long as lipstick and you should toss them out after 1 year. You can tell when it starts to separate or become extra sticky and goopy.

Added bonus: Nail Polish – 1 to 2 years 

You know it’s time to part with it if the polish becomes extra thick or has separated in to layers and doesn’t blend easily after a quick shake. To increase the longevity of the polish, purchase a nail polish thinner from your local drugstore in the beauty aisle!

10 Makeup Tips & Tricks

Girl Time

IMG_4679

As I’ve said before, I’ve been wearing makeup for long time now, so I know what works for me and what doesn’t. Through trials and tribulations (hello, super metallic blue eye shadow for prom!), I’ve learned what colors flatter me, how much to apply, how to apply it, and what works with my face shape, so that I don’t end up looking like a clown and scaring off kids.

Once you get the hang of things, it’ll become second nature to you and you’ll see just how makeup can accentuate your best features (and hide your not so favorite features). Here are some of my favorite makeup tips and tricks that I wish I would’ve known a long time ago…no seriously, what was I thinking with that blue eye shadow and why didn’t anybody warn me?

1. Heat your eyelash curler with a blow dryer, so that your lashes curl easier and hold the curl longer.

IMG_4647

2. Mascara is supposed to last for 3 or 4 months, but sometimes mine dries out way too soon. When your mascara is drying out and becoming flakey, add a couple drops of saline solution (like eye drops) to the tube and rub the wand around the inside. This softens the mascara liquid, making it apply like brand new again! Added tip: Don’t pump your mascara wand trying to get more out of the tube! This just adds more air in to the tube, making it dry faster.

3. When applying eye shadow, start with a base shadow that doesn’t have shimmer and matches the lightest skin tone on your face. By applying it all over your lid, it creates a clean canvas to easily and properly blend your darker shadows. Added tip: Using an eye primer makes a big difference in how your shadows look and improves staying power!

4. When applying eyeliner on your upper lash line, don’t look straight at the mirror. Instead, get as close as possible to the mirror, tilt your head up slightly, and bring your chin towards the mirror. Looking down as you apply eyeliner makes the process 100 times easier.

IMG_4625

5. While you apply your mascara, dig the wand in to the root of your lashes and wiggle your brush using zig zag motions as you go up. This will separate your lashes and coat them evenly with a nice layer of mascara.

6. Speaking of mascara, waterproof mascara is my favorite because of how it holds my curl and the fact that it doesn’t smudge, giving me raccoon eyes. The downside of waterproof mascara is that taking it off can be a hassle. To make it easier to take off, use your favorite regular mascara as the first coat and apply the waterproof mascara over that. This way, the waterproof mascara locks on to the first coat instead of your lashes. Added tip: To make it even easier, use cold cream to take off your eye makeup. Rubbing a little on your eyes will take that stubborn stuff right off!

7. Set your under eye area (all the way up to the lower lashline) with a light/translucent powder for a smoother finish that’ll prevent creasing and accentuation of fine lines. It’ll also up the staying power of your concealer/foundation.

8. When applying blush, smile and start at the apple of your cheeks, blend the blush back towards the top of the ear using swirling motions instead of sweeping motions. Added tip: Always tap off excess powder from your brush to avoid applying too much. You can always build up the color if need be.

IMG_4620

9. To exfoliate your lips, use a wet toothbrush or washcloth to scrub off the dead skin. This will allow your lipstick to glide on smoothly without any caking.

10. For longer lasting lipstick, tissues and powder are your best friends. Start with applying your lipstick, blot with a tissue, and then hold a sheet of 1-ply tissue over your lips and apply translucent powder over that.

IMG_4632

Hopefully these tips and tricks help you out! I’d love to hear some of your favorite tricks as well!

Simple Substitutions for Healthier Eating

Clean Eating

When cooking and eating clean, I always try to find a way to make some of my favorite dishes – or some that I’m craving at the moment – with healthier ingredients. The trickiest thing is finding alternatives that won’t change the taste too much or make you feel like you’re eating cardboard. Who says you have to sacrifice flavor? Here are some of my favorite substitutions!

100% Whole Wheat for White Flour – I’ve said this in previous posts, but whole wheat flour and white flour have completely different nutritional values. White flour is made from heavily refined and processed grains, while whole wheat flour is made from grains that have not been through heavy processing. This means white flour does not contain nearly as much necessary fiber and vitamins as whole wheat flour does and can raise your blood sugar. When buying flour or anything made with flour, make sure it’s 100% whole wheat!

Brown Rice/Quinoa for White Rice – The same goes with brown rice/quinoa and white rice. White rice has more carbs and will not benefit you! Quinoa is one of the most protein packed foods you can eat and is full of nutrients as well.

Mashed Avocado for Mayo/Spread – Mayo or spreads, like butter, have high fat content and contain a lot of calories, sugar, and artificial ingredients. Instead, mash up some avocado and spread it on a piece of toast for a yummy snack or when making a sandwich! Avocados are a healthy fat and contain over 20 vitamins and minerals!

Natural Peanut or Almond Butter for Peanut Butter (Especially Reduced-Fat) – Just because something says reduced-fat, it doesn’t mean it’s the better choice! Reduced-fat versions of peanut butter can actually have more sugar and a long list of artificial additives. Natural peanut butter provides the same sweetness without all the extra junk.

Plain Greek Yogurt for Flavored Yogurt – Flavored yogurts are often packed with extra sugar. To skip the sugar intake, go for plain Greek yogurt and add fresh fruit and/or honey or 100% maple syrup for a hint of sweetness. Added bonus – Greek yogurt is a great source of protein!

Lettuce for Buns – This is pretty self-explanatory. When eating a burger, substitute the buns for lettuce instead. Buns are more dense, so they are higher in carbs.

Plain Greek Yogurt for Mayo – As explained earlier, mayo is high in fat content and calories, whereas Greek yogurt is not and is high in protein. When making something that requires me to mix in mayonnaise, I always sub in Greek yogurt. You can’t even tell the difference! It’s super versatile and you can use it to make toppings or dips by adding spices and herbs.

Ground Turkey for Ground Beef – Ground turkey is a great substitute for ground beef to cut down on saturated fat and calories. I am a fan of experimenting with making different types of burgers (versus your usual cheeseburger), so ground turkey definitely comes in handy. I also like cooking my chili or meatballs with it!

Non-Sweetened Soy or Almond Milk for Heavy Whipping Cream – Heavy whipping cream is high in fat, saturated fat, and calories. It is used in soups and sauces to create full-bodied flavor and thick consistency while adding unnecessary levels of fat and calories. Instead, substitute it with non-sweetened soy or almond milk and add a little whole wheat flour to thicken it up. Greek yogurt is also a great alternative.

Low-Sodium Soy Sauce for Standard Soy Sauce – The taste is basically the same, but using a low- or reduced-sodium soy sauce can cut down sodium intake by almost half. It is also a good substitute for salt – don’t use both in the same dish!